Mini No‑Bake Cheesecakes
These Mini No‑Bake Cheesecakes remind me of a lazy Sunday afternoon in our kitchen—kids in pajamas, the mixer humming softly, and the fridge humming louder. No oven, no fuss, just creamy bites coming together in minutes. I remember the first time my daughter insisted on “helping” press the crust into liners…it was messy, but the smiles made it memorable.
What I love about this dessert is how adaptable it is. One batch, endless topping options—from glossy cherry pie filling to fresh berries or even a drizzle of caramel. It’s basically a mini celebration in every bite.
They’re elegant enough for a dinner party, and kid-approved for after-school treats. These cheesecakes are proof that great things come in small packages—and without turning on the oven.
Short Description
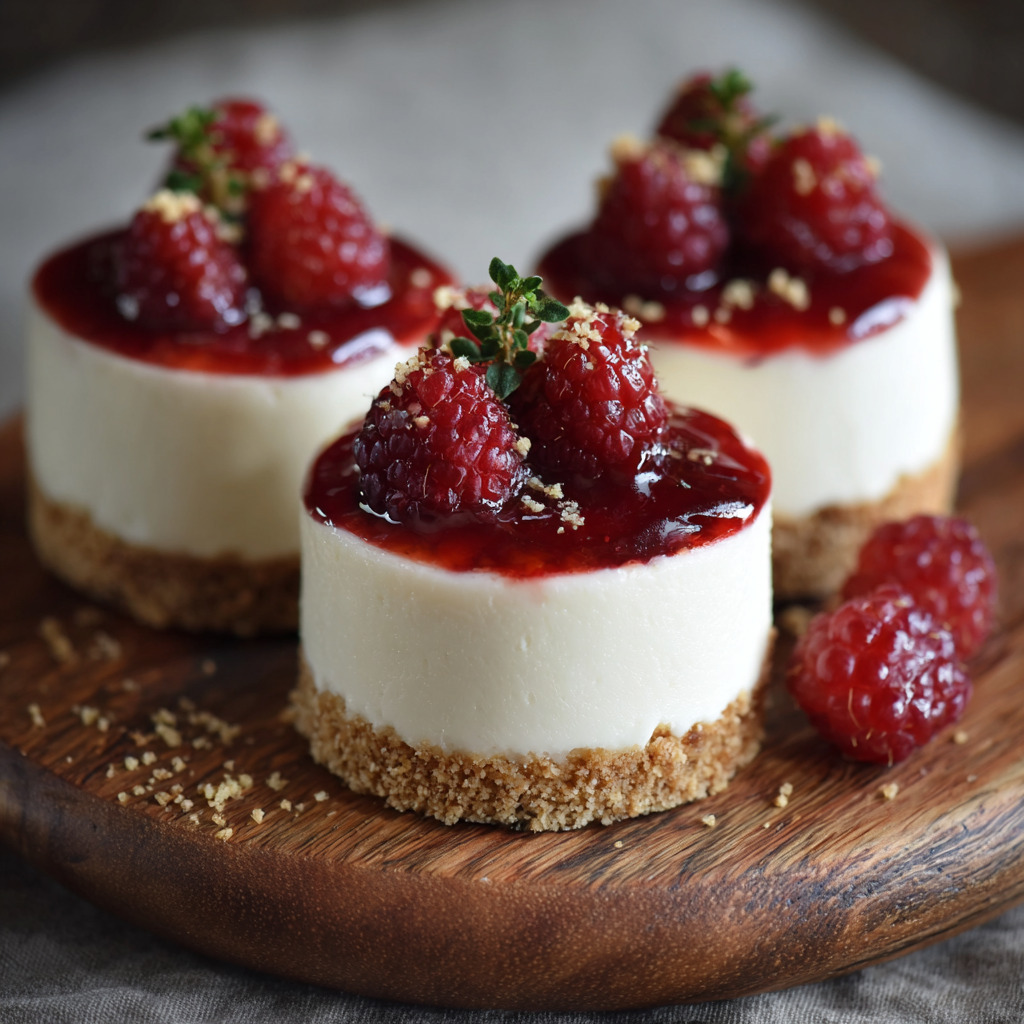
Mini No‑Bake Cheesecakes are indulgent yet easy-to-make, featuring a buttery graham cracker crust and creamy, mousse-like cheesecake filling. Perfect for gatherings, sweet snacks, or a light dessert that stays cool and delightful.
Ingredients You’ll Need
Crust
- 120 g graham cracker crumbs (or digestive biscuits)
- 2 tbsp brown sugar
- 50 g unsalted butter, melted
Cheesecake Filling
- 450 g (16 oz) full-fat cream cheese, softened
- ⅓ cup (70 g) granulated sugar
- 2 tbsp sour cream or plain yogurt
- 1 tsp fresh lemon juice
- ½ tsp vanilla extract
- 240 ml (1 cup) cold heavy whipping cream
Tools & Equipment
- Standard 12 cup muffin tin
- Paper cupcake liners or silicone cups
- Electric mixer (hand or stand)
- Two mixing bowls
- Large spoon or piping bag
How To Make Mini No‑Bake Cheesecakes
Step 1: Prep the crust
Line your muffin tin with liners. Stir graham crumbs, brown sugar, and melted butter until it feels like damp sand. Press about 1½ tbsp into each liner to form an even base.
Step 2 (optional): Set crust
For sturdier crusts, bake at 175 °C (350 °F) for 5 minutes. Let cool slightly. You can skip this step—just know they’ll be a bit more delicate.
Step 3: Whip the cream
Beat heavy cream until stiff peaks form, about 2–3 minutes. Set aside—it helps the filling stay creamy and firm.
Step 4: Make filling
In a separate bowl, beat cream cheese and sugar until smooth. Add sour cream, lemon juice, and vanilla. Beat for another minute until creamy and lump-free.
Step 5: Fold in cream
Gently fold whipped cream into the cream cheese mix until everything is combined and fluffy.
Step 6: Assemble
Spoon or pipe filling over crusts—about 2 tbsp each. Tap the pan gently to even out the tops.
Step 7: Chill
Refrigerate for at least 3 hours (overnight is best). Avoid the freezer—it sets unevenly.
Serving and Pairing Suggestions
These mini cheesecakes shine when served chilled straight from the fridge. I love topping them with fresh berries—strawberries, raspberries, blueberries—picked by my kids on our summer farm visits.
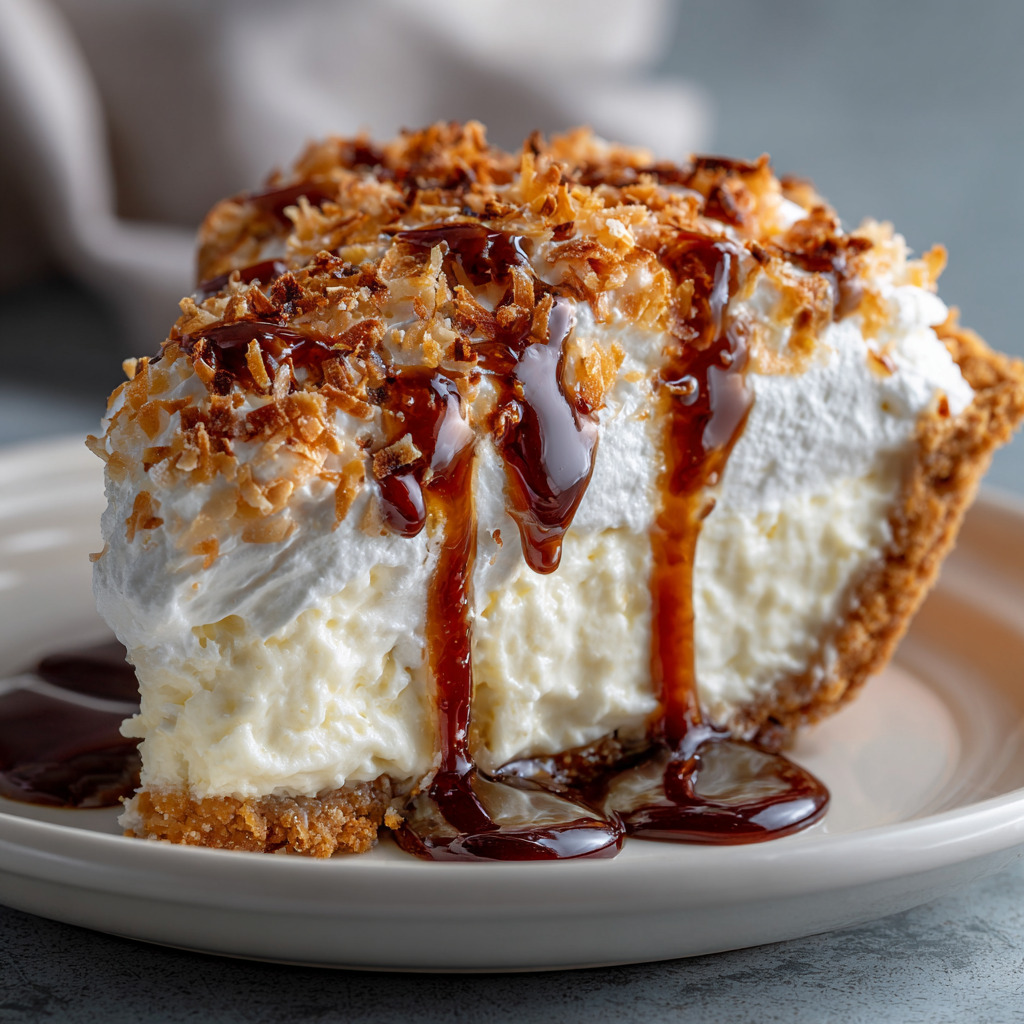
Cherry pie filling or lemon curd adds a retro feel, while chocolate ganache or salted caramel brings a modern twist. For brunch, pair one with a cup of strong coffee or herbal tea.
At parties, display a variety—plain for cheesecake purists, fruit, caramel, or ganache for flavor seekers. Everyone finds their favorite.
Storing and Reheating Tips
Refrigerator: Keep in a sealed container for up to 5 days—toppings added fresh.
Freezer: Freeze un-topped minis for up to 3 months; thaw in the fridge overnight.
To Chill: Let sit a few minutes after removing from fridge to soften slightly before eating.
Top Tips for Perfecting
Start by chilling your mixing bowl and beaters for the whipped cream—it makes a firmer texture.
Don’t rush the whipping: stiff peaks give the filling structure without adding gelatin.
Use full-fat brick-style cream cheese and ensure it’s fully softened for a smooth blend.
When folding the cream, be gentle so the filling stays fluffy. Finally, chill long enough – at least 3 hours, ideally overnight—so each cheesecake holds its shape perfectly.
Recipe Variations
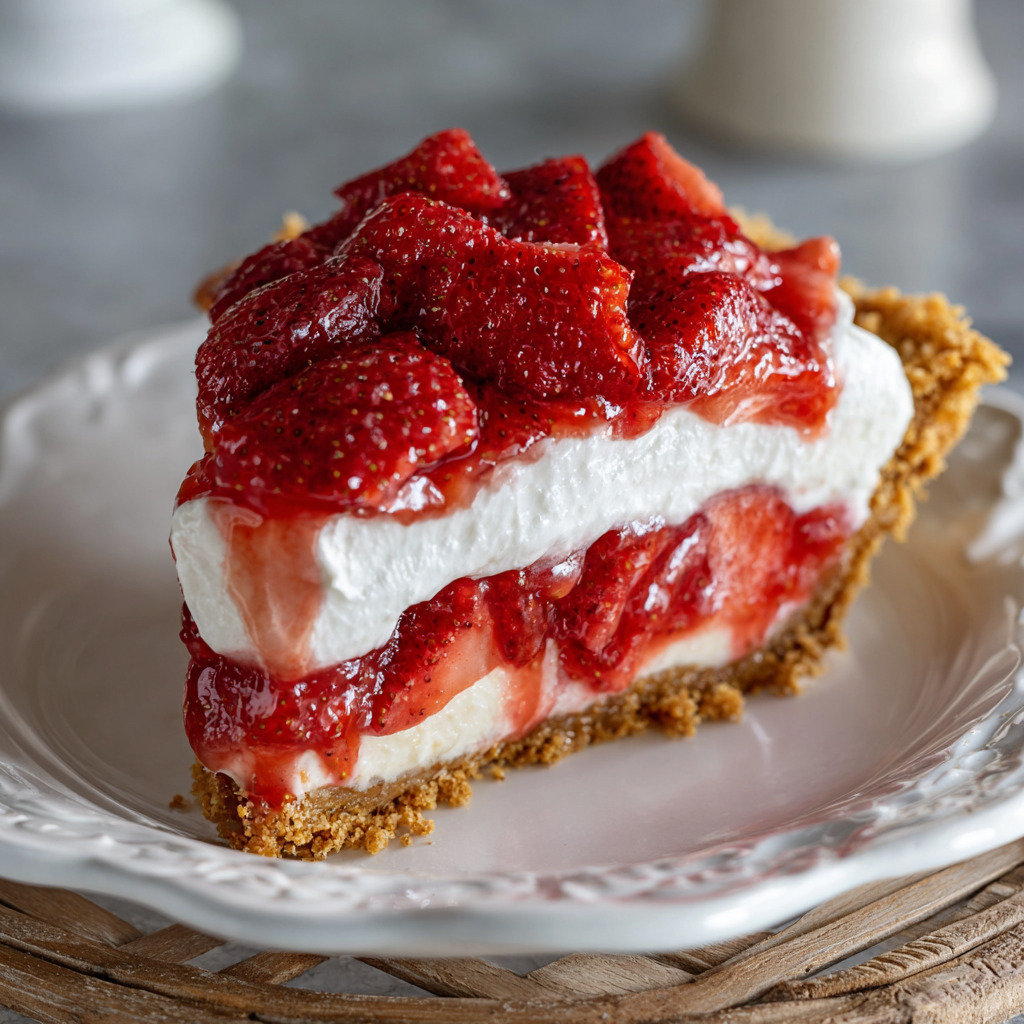
1. Strawberry Cheesecake
Swap sour cream with strawberry yogurt and top with macerated strawberries for a fruity twist.
2. Lemon Zest Cheesecake
Add 1 tsp lemon zest and top with lemon curd—bright and zesty.
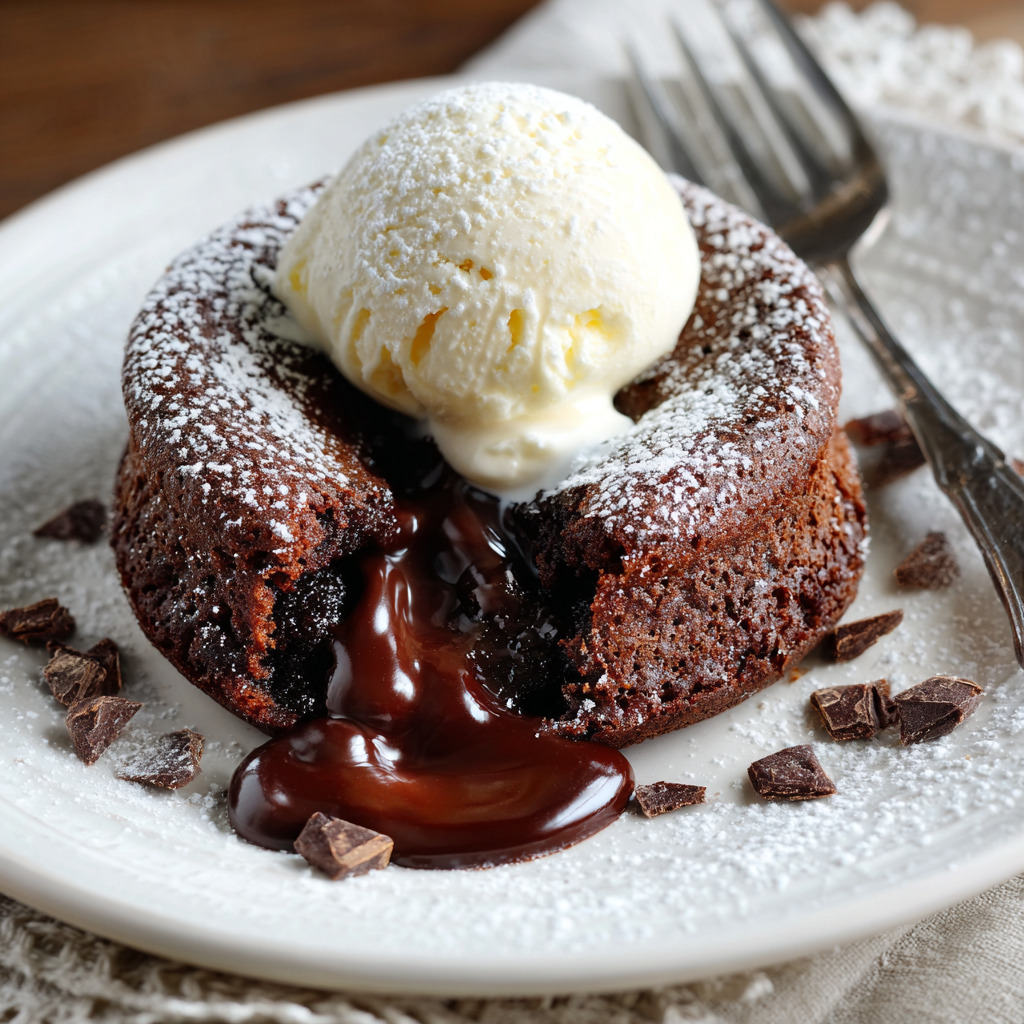
3. Chocolate Lover’s
Mix 2 tbsp cocoa powder into frosting; use chocolate Graham crumbs in crust, and top with chocolate sprinkles.
4. Nutty Crunch
Mix finely chopped toasted pecans into the crust for added texture and nutty flavor.
5. Peanut Butter Swirl
Fold in 2 tbsp creamy peanut butter before chilling, and top with crushed peanuts.
Estimated Nutrition Info (per cheesecake)
Calories: ~200 kcal | Protein: 3 g | Carbs: 15 g | Fat: 15 g
Frequently Asked Questions (FAQs)
1. Can I use store-bought crusts instead?
Yes, just press mini graham-rounds or store-made crusts into liners. Skip the crumb step.
2. My filling was runny—what went wrong?
Likely you under-whipped the cream or didn’t chill long enough. Reinforce both.
3. Do I have to bake the crust?
It’s optional. Baking gives a firmer base, but unbaked still tastes great—just softer.
4. Can I make a full-sized no-bake cheesecake instead?
Sure! Use this filling recipe in a 9″ springform with a graham crust and chill similarly.
5. What if my cream cheese has lumps?
Beat a bit longer or warm the beaters slightly. Smooth filling is key for texture.
Conclusion
These Mini No‑Bake Cheesecakes are one of those desserts that feel a bit fancy but are shockingly simple to make. They brighten up our brunch table, impress my friends, and keep my kids delighted. Every topping variation brings a new twist, so there’s always something to try.
Give them a go—everyone’s going to love how easy and delicious these little cheesecakes are. Share with me, and let’s celebrate small bites of joy together!
Mini No‑Bake Cheesecakes
Course: Desserts, SnacksDifficulty: Easy4
servings15
minutes~200
kcal15
minutesMini No‑Bake Cheesecakes are indulgent yet easy-to-make, featuring a buttery graham cracker crust and creamy, mousse-like cheesecake filling. Perfect for gatherings, sweet snacks, or a light dessert that stays cool and delightful.
Ingredients
120 g graham cracker crumbs (or digestive biscuits)
2 tbsp brown sugar
50 g unsalted butter, melted
450 g (16 oz) full-fat cream cheese, softened
⅓ cup (70 g) granulated sugar
2 tbsp sour cream or plain yogurt
1 tsp fresh lemon juice
½ tsp vanilla extract
240 ml (1 cup) cold heavy whipping cream
Directions
- Line your muffin tin with liners. Stir graham crumbs, brown sugar, and melted butter until it feels like damp sand. Press about 1½ tbsp into each liner to form an even base.
- For sturdier crusts, bake at 175 °C (350 °F) for 5 minutes. Let cool slightly. You can skip this step—just know they’ll be a bit more delicate.
- Beat heavy cream until stiff peaks form, about 2–3 minutes. Set aside—it helps the filling stay creamy and firm.
- In a separate bowl, beat cream cheese and sugar until smooth. Add sour cream, lemon juice, and vanilla. Beat for another minute until creamy and lump-free.
- Gently fold whipped cream into the cream cheese mix until everything is combined and fluffy.
- Spoon or pipe filling over crusts—about 2 tbsp each. Tap the pan gently to even out the tops.
- Refrigerate for at least 3 hours (overnight is best). Avoid the freezer—it sets unevenly.